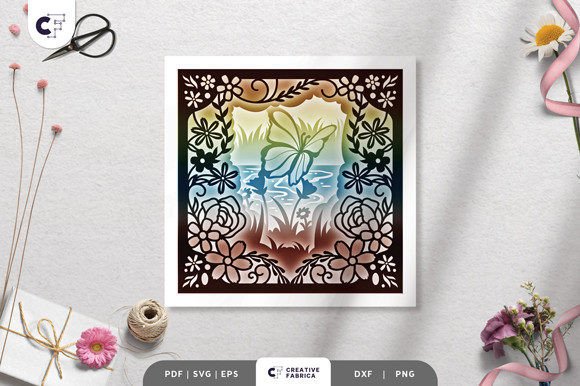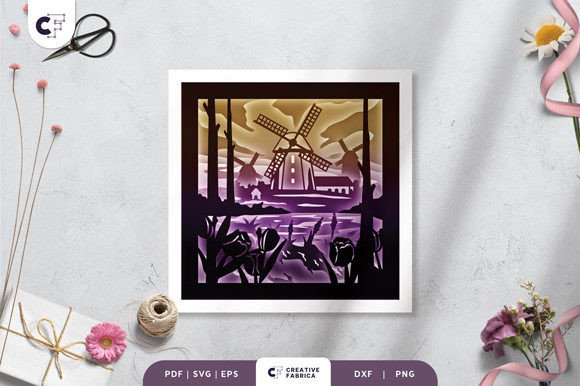
Blooming Tulips 3D Shadow Box: A Layered Spring Craft
There is a distinct satisfaction in transforming flat materials into something with depth, movement, and life. The Blooming Tulips 3D Shadow Box captures this magic perfectly. It is not merely a paper cutting project; it is an exercise in spatial design that brings the vibrancy of spring indoors, regardless of the weather outside. For creators, hobbyists, and small business owners looking to add tangible beauty to their spaces or product lines, this layered template offers a versatile foundation for endless customization.
At its core, this project utilizes an eight-layer square design, measuring precisely 20.32×20.32 cm. The complexity lies in the stacking. Each layer reveals a new contour of the tulip blooms, creating a gradual transition from the background to the foreground. This technique, often seen in high-end gallery installations, is now accessible through digital templates available in SVG, PDF, EPS, PNG, and DXF formats. Whether you are operating a Silhouette Cameo, a Cricut Explore, or prefer the tactile control of an art knife and scissors, the file compatibility ensures that anyone can participate in this creative process.
The Art of Layering and Depth
What makes the Blooming Tulips 3D Shadow Box particularly compelling is how it manipulates light and shadow. Unlike a standard print where the image is static, a shadow box changes appearance depending on the angle of view and the lighting source. The eight distinct layers create pockets of air between the cardstock sheets. When assembled correctly with glue or double-sided tape, these gaps cast soft shadows that accentuate the curves of the petals and the sweep of the leaves.
For designers and educators, this project serves as an excellent introduction to vector layering and depth perception. The included SVG file allows for resizing, provided the aspect ratio remains locked to prevent distortion. This flexibility means you can adapt the design for various contexts—a small 6x6 inch version for a greeting card insert or a large 12x12 inch statement piece for a living room wall. The key to success here is precision. Each layer must align perfectly with the one beneath it to maintain the integrity of the floral silhouette.
Material Selection Matters
The final aesthetic of your shadow box relies heavily on the quality of your materials. While standard printer paper might suffice for a quick prototype, it lacks the structural rigidity needed to hold the layers apart effectively. For a professional finish, using a heavy cover stock is essential. The recommended Encore Cardstock 80 lb cover (216 gsm) provides the perfect balance of stiffness and cuttability. This weight ensures that the layers do not sag over time and that the edges remain crisp after cutting.
Color theory plays a significant role in this project as well. Because the design relies on overlapping elements, choosing contrasting or complementary colors for different layers can dramatically alter the mood. A monochromatic scheme using varying shades of pink and green creates a subtle, elegant look suitable for modern interiors. Conversely, high-contrast choices—such as deep navy backgrounds with bright orange tulips—can make the piece pop as a focal point in a child's room or a creative studio.
Versatile Applications for Creators
The utility of the Blooming Tulips 3D Shadow Box extends far beyond simple home decor. For entrepreneurs and freelancers, this template represents a viable product opportunity. Handmade goods with a three-dimensional element often command higher price points than flat prints due to the perceived labor and intricacy involved.
- Framed Wall Art: The most traditional application involves placing the assembled layers into a deep-set frame. This protects the delicate paper edges while showcasing the depth.
- Illusion Light Boxes: By integrating LED strip lights between specific layers, you can transform the static image into a glowing centerpiece. This variation is particularly effective for evening ambiance or retail window displays.
- Custom Gifting: Personalize the project by adding a nameplate layer or changing the color palette to match the recipient's favorite hues. It makes for a thoughtful gift for friends, family, or special occasions like Mother's Day.
- Educational Tools: Teachers can use the layered structure to explain concepts of biology (plant anatomy) or geometry (spatial reasoning) in a hands-on manner.
Adapting for Different Audiences
When adapting this design for specific audiences, consider the context in which the piece will be viewed. For corporate clients or office environments, sticking to neutral tones and clean lines maintains professionalism while adding a touch of nature. For bloggers and content creators, the visual appeal of the assembly process itself offers rich material for tutorials and social media reels. Documenting the step-by-step layering process can engage followers who appreciate behind-the-scenes craftsmanship.
Marketers can leverage the seasonal nature of tulips to create timely campaigns. Since tulips are synonymous with spring, launching this project in late winter capitalizes on the consumer desire for renewal and color. The ability to produce these quickly using cutting machines allows for scalable production if demand increases.
Practical Assembly and Maintenance
Executing the Blooming Tulips 3D Shadow Box requires patience and organization. Before applying any adhesive, lay out all eight layers in order to verify the sequence. It is easy to accidentally flip a layer or misalign the registration marks, which can disrupt the 3D effect. Using a light table or a bright window can help ensure perfect alignment during the gluing phase.
If you choose to create a light box version, plan your wiring route before sealing the layers. Thin, flexible LED strips work best as they can be tucked into the corners without bulging the frame. Always test the lighting setup before finalizing the assembly to avoid having to dismantle the project later.
Keep in mind that the images seen in previews may vary slightly from the final physical product due to lighting conditions and monitor calibration. The actual color outcome depends largely on the specific batch of cardstock used. This variability is part of the charm of handmade items; no two boxes are ever exactly identical.
Final Thoughts on Creative Execution
The Blooming Tulips 3D Shadow Box is more than a craft kit; it is a platform for artistic expression. It bridges the gap between digital design and physical artistry, allowing users to manipulate space and light with simple tools. Whether you are a seasoned paper engineer or a beginner looking to try your first layered project, the clear instructions and compatible file formats lower the barrier to entry.
By focusing on quality materials like the 80 lb cover stock and paying attention to the nuances of layer spacing, you can achieve results that look professionally manufactured. The project encourages experimentation—try mixing textures, adding glitter accents to specific layers, or incorporating pressed flowers alongside the paper cuts. The possibilities are constrained only by your imagination and the depth of your frame.
For those ready to start creating, the availability of multiple file formats ensures compatibility with almost any workflow. From the initial cut to the final placement on the wall, this project delivers a sense of accomplishment and a beautiful, lasting reminder of spring's arrival.