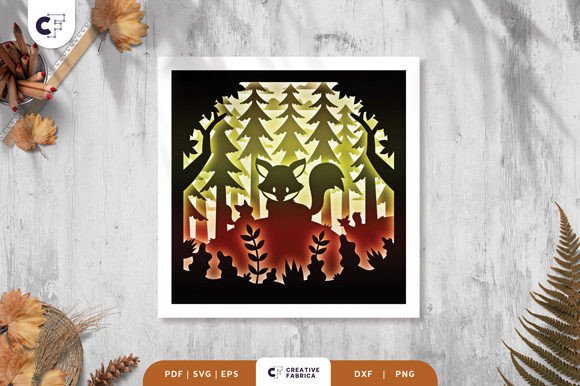
Bringing Autumn to Life: A Complete Guide to the Fox in the Forest 3D Shadow Box
Hello, crafters! As the leaves begin to turn and the air grows crisp, there is no better way to celebrate the season than by bringing the beauty of nature indoors. One of the most captivating trends in modern paper crafting is the 3D shadow box. Today, we are diving deep into a specific masterpiece: the Fox in the Autumn Forest. This layered, square paper cutting template is more than just a craft project; it is an exercise in depth, lighting, and storytelling through paper.
Whether you are a seasoned scrapbooker or someone picking up a craft knife for the first time, understanding how these layered designs work can open up a world of creative possibilities. In this guide, we will explore what makes this template special, how to choose the right materials, and how to transform a flat digital file into a stunning piece of wall art or a glowing light box.
Understanding the Magic of Layered Paper Art
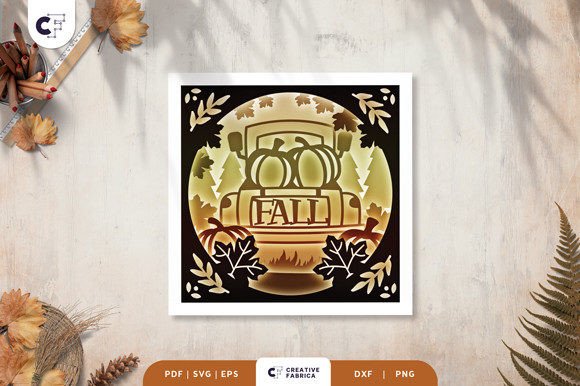
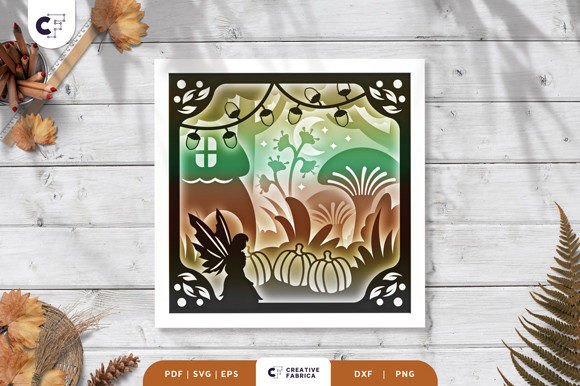
At its core, a 3D shadow box relies on the principle of parallax and depth. Unlike traditional flat papercutting, where a single sheet holds the entire design, a shadow box separates the image into multiple distinct planes. The Fox in the Autumn Forest template consists of 6 unique layers. When stacked with spacing between them, these layers create an illusion of three-dimensional space within a two-dimensional frame.
The significance of this technique lies in its ability to mimic real life. In nature, objects are not flat; trees stand in front of bushes, foxes hide behind ferns, and clouds float above the canopy. By separating these elements onto different sheets of cardstock, you allow light and shadow to play across the surfaces, creating a dynamic visual experience that changes depending on the viewing angle and lighting conditions.
This project fits perfectly into modern home decor trends, which favor handmade, personalized items over mass-produced goods. It serves as a bridge between traditional craftsmanship and modern technology, as the design is created digitally but finished by hand.
The Digital Foundation: File Formats and Compatibility
Before you can start cutting, it is essential to understand the digital assets you are working with. This template is designed to be versatile, catering to various levels of technological access. You will receive the design in several industry-standard formats:
- SVG (Scalable Vector Graphics): Ideal for electronic cutting machines like Silhouette Cameo or Cricut Explore. These files tell the machine exactly where to cut without losing quality, regardless of size.
- PDF and EPS: Perfect for professional printing or importing into other vector-based design software.
- PNG: A raster image format useful for previewing the design or using with manual tracing methods.
- DXF: Another vector format often used in CAD software and compatible with many cutting plotters.
A common misunderstanding among beginners is that they must own an expensive cutting machine to attempt this project. This is simply not true. While an SVG file allows for precision cutting with a machine, the design is equally viable for manual crafting. If you do not have a machine, you can print the PNG or PDF templates and use a sharp art knife and scissors. The key is patience and a steady hand.
Furthermore, one of the greatest advantages of vector files like SVG is scalability. You can resize the design to fit different frames, provided you maintain the same aspect ratio. Distorting the image by stretching it vertically or horizontally will ruin the alignment of the layers, so always lock the proportions when resizing.
Selecting the Right Materials for Success
The difference between a good shadow box and a great one often comes down to the paper. For a project with six layers, structural integrity is paramount. If the paper is too thin, it will warp under the weight of the glue or fail to hold the spacing needed for the 3D effect. Conversely, if it is too thick, it may be difficult to cut intricate details, especially by hand.
The recommended material for this project is Encore Cardstock 80 lb cover (216 gsm). This weight strikes the perfect balance. It is sturdy enough to stand on its own when spaced apart, yet flexible enough to be cut cleanly. The 216 gsm weight ensures that when you add LED lights later, the paper won't become translucent in unwanted areas, preserving the vibrancy of your color choices.
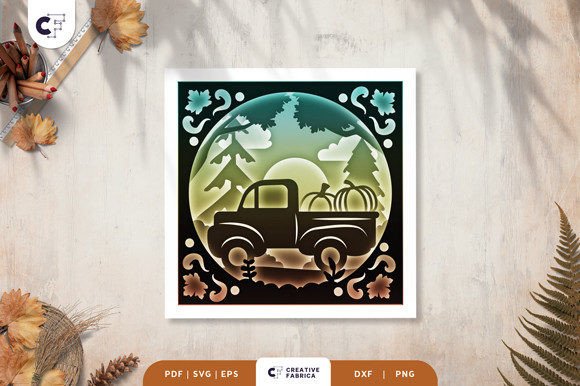
When selecting colors, think about the atmosphere of an autumn forest. Deep oranges, burnt siennas, golden yellows, and earthy browns work best for the foliage. For the fox layer, consider warm russet tones contrasted against cooler background hues to make the subject pop. Remember, the images provided in product previews are for reference only. The final look depends heavily on your specific paper choice and lighting sources.
Assembly Techniques: From Flat Sheets to Deep Dimensions
Once your six layers are cut, the assembly process begins. This is where the magic happens. To create the 3D effect, you need to create space between each sheet. You have two primary options for adhesives:
- Double-sided tape: Specifically, foam tape works wonders here. Cut small squares of foam tape and place them in the corners or along the edges of each layer. This instantly creates a uniform gap.
- Liquid glue with spacers: If you prefer liquid glue, you can use small scraps of cardstock as "spacers" glued between the main layers to ensure consistent depth.
Start from the back layer (the sky or furthest background) and work your way forward to the foreground (the fox and nearest leaves). Align each layer carefully. Misalignment at this stage can break the illusion of depth. Take your time to ensure that the trunk of a tree on layer three lines up perfectly with its roots on layer four.
Lighting It Up: The Shadow Box vs. Light Box Debate
One of the most exciting aspects of this template is its dual functionality. You can assemble it as a traditional framed wall decoration, relying on ambient room light to cast natural shadows between the layers. This creates a subtle, elegant look suitable for any living room or office.
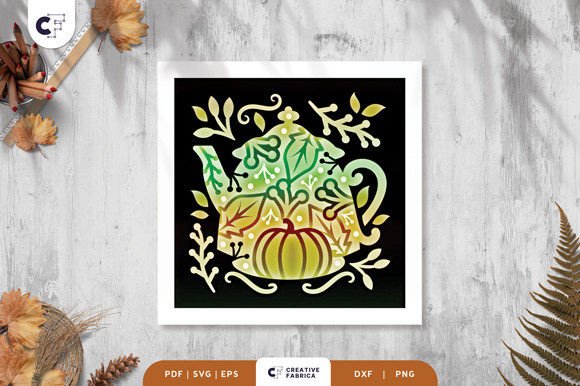
However, for a truly breathtaking effect, consider turning it into a light box. By adding LED strip lights between the layers during assembly, you illuminate the scene from within. This technique highlights the translucency of the cardstock and makes the autumn colors glow as if lit by the sun filtering through the trees.
To achieve this, battery-operated LED strips are ideal as they eliminate the need for messy cords. Place the lights around the inner perimeter of the frame or weave them subtly between the middle layers. Be cautious not to cover the main focal points, such as the fox's face, with direct lighting, as this can wash out the details. The goal is to create a soft, diffused glow that enhances the depth rather than overpowering it.
Making It a Meaningful Gift
Beyond personal decor, the Fox in the Autumn Forest shadow box makes a thoughtful and unique gift. In an era of digital communication and store-bought presents, a handmade item carries significant emotional weight. It shows the recipient that you invested time, effort, and creativity specifically for them.
This project is suitable for friends who love nature, family members who appreciate cozy autumn aesthetics, or anyone who needs a touch of warmth in their home. Because the design is neutral yet striking, it fits well in nurseries, cabins, or modern apartments. Packaging it in a sturdy box with a note explaining the layers and the light feature adds a personal touch that elevates the gift-giving experience.
Final Thoughts on Creativity and Precision
Crafting the Fox in the Autumn Forest 3D shadow box is a journey that blends technical skill with artistic vision. It teaches us about layering, lighting, and the importance of material selection. Whether you are using a high-tech Cricut machine or a simple pair of scissors, the result is a testament to the enduring power of paper crafts.
Remember, perfection is not the goal; expression is. Slight variations in color or minor imperfections in cutting only add to the handmade charm of the piece. So, gather your cardstock, fire up your cutting machine or sharpen your knife, and get ready to capture the essence of autumn in a box.
For those looking to source the perfect paper for this project, high-quality materials are essential. You can explore a wide variety of colors and textures to match your vision. Click here to visit the 12×12 Cardstock Shop to find the Encore Cardstock 80 lb cover mentioned in this guide. Please note that this is a paid link, but it comes at no extra cost to you, ensuring you get the best materials for your masterpiece.
Happy crafting, and may your autumn be filled with creativity and warm colors!