Mastering the Halloween Tissue Box Cover Cricut Craft: A Guide to Flawless Seasonal Decor
If you are like me and decorate for every season, you know that the smallest details often make the biggest impact on a room's atmosphere. One of the most overlooked yet highly visible items in any home is the standard tissue box. Leaving a generic, branded box sitting out during October can disrupt an otherwise perfectly curated spooky aesthetic. This is where the Halloween Tissue Box Cover Cricut Craft becomes an essential project. It transforms a mundane household necessity into a festive centerpiece with minimal effort. Whether you cut by hand or utilize a die-cutting machine such as a Cricut, Silhouette, or Brother ScanNCut, this project offers a high reward for a low time investment.
However, even simple crafts can go awry if specific nuances are ignored. Many enthusiasts rush into cutting files without considering material compatibility, sizing discrepancies, or assembly techniques. By understanding common pitfalls before you begin, you ensure your final product looks professional rather than homemade in the wrong way. This guide walks you through the critical checks and balances needed to execute this project successfully, ensuring your holiday cover fits perfectly and lasts through the season.
Understanding the Project Scope and File Compatibility
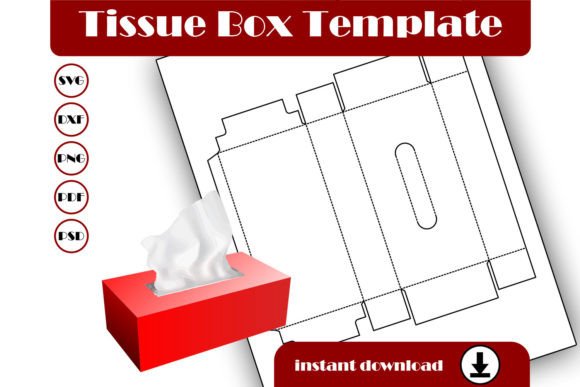
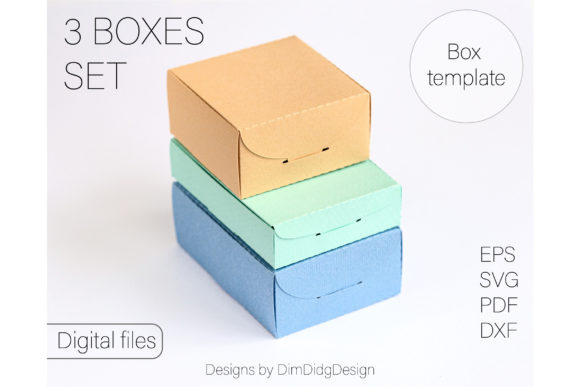
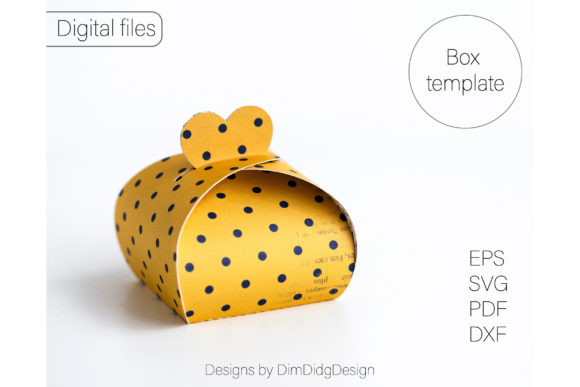
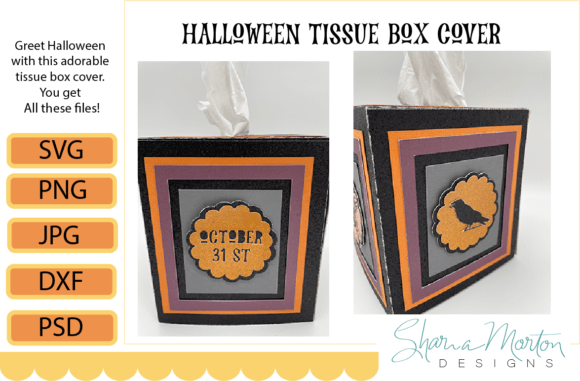
The core of this craft lies in the digital file you purchase or download. Typically, these designs come in a variety of formats including PNG, SVG, JPG, PSD, and DXF. While having options is excellent, it often leads to confusion for beginners who may not understand which file type serves their specific machine. A common mistake is attempting to load a raster image like a JPG or PNG directly into a vector-based cutting software without tracing it first. This results in the machine trying to cut around the square border of the image rather than the intricate Halloween shapes inside, ruining both the design and your material.
To avoid this, always prioritize the SVG or DXF files when using electronic cutters. These are vector files that tell the machine exactly where to place the blade. If you are using a Brother ScanNCut, the machine can sometimes read images directly, but for Cricut and Silhouette users, sticking to vectors is non-negotiable for clean lines. Before you even open your design program, locate the "Read Me" file included in your purchase. This document often contains crucial information about layering, color codes, and specific settings recommended by the designer. Skipping this step is a frequent error that leads to unnecessary troubleshooting later.
Sizing Matters: The Trap of Assumed Dimensions
One of the most frustrating outcomes in paper crafting is spending twenty minutes weeding and assembling a project only to realize it does not fit the intended object. The description for this craft notes that the file is designed to fit a standard tall tissue box. However, "standard" can be subjective depending on the brand of tissues you buy. Some boxes are slightly wider, while others are shorter or have rounded corners that interfere with a rigid paper cover.
A smart approach is to measure your specific tissue box before sending the design to your mat. Use the resize function in your machine's design program—such as Cricut Design Space or Silhouette Studio—to adjust the dimensions if needed. It is far better to spend thirty seconds resizing the digital file than to waste cardstock and adhesive. If you are unsure, cut a test piece using cheap printer paper first. Wrap it around your box to check the seam alignment and height. This "dry run" costs almost nothing but saves significant frustration. Remember, resizing a vector file is seamless, but resizing a raster image (like a PNG) can result in pixelation and jagged edges, so always start with the highest quality vector source possible.
Material Selection and Machine Settings
The durability and finish of your Halloween tissue box cover depend heavily on the material you choose. Many crafters default to standard 65lb cardstock because it is readily available. While this works for simple designs, complex Halloween motifs with fine details like spiderwebs or bat wings may tear during the weeding process if the paper is too thin. Conversely, using heavy watercolor paper or chipboard without adjusting your machine settings can lead to incomplete cuts, forcing you to run the machine twice and risking misalignment.
For the best results, consider using 80lb or 100lb cardstock for a sturdier feel that holds its shape well around the box. If your design includes intricate layers, a premium textured cardstock can add depth and hide minor imperfections. When loading your mat, ensure the material is burnished down firmly to prevent shifting. If you notice small pieces lifting during the cut, pause the machine and apply more pressure. Additionally, do not overlook the importance of the blade. A fine-point blade is standard, but if you are cutting glitter cardstock or faux leather, a deep-cut blade might be necessary. Always perform a small test cut on a corner of your material to verify the pressure and speed settings before committing to the full design.
Assembly Techniques for a Professional Finish
Cutting the pieces is only half the battle; assembly is where the magic happens. A frequent oversight in creating tissue box covers is neglecting the structural integrity of the seams. If you simply butt two edges together and tape them, the cover may pop open when tissues are pulled. Instead, design your assembly to include a small overlap tab, or use strong double-sided tape along the entire vertical seam. Liquid glue can warp paper if applied too heavily, so adhesive tapes or glue dots are generally superior for this application.
Another area where crafters stumble is the opening mechanism. You must ensure the top slot aligns perfectly with the tissue box dispensing hole. If the cover is too tight, tissues will snag; if it is too loose, the cover will slide around. A practical tip is to cut the dispensing slot slightly larger than the box opening and then fold the excess paper inward to create a clean hem. This not only reinforces the edge but also creates a smoother surface for tissues to glide over. Take your time during the folding process, using a bone folder to create crisp creases. Sharp, defined folds contribute significantly to the overall polished look of the project.
- Check your file formats: Ensure you are using SVG or DXF for cutting machines to avoid tracing errors.
- Measure twice, cut once: Verify the dimensions of your specific tissue box against the digital file before cutting.
- Select appropriate materials: Choose cardstock weight that balances durability with ease of cutting and weeding.
- Test your settings: Run a small test cut to confirm blade pressure and speed for your chosen material.
- Reinforce seams: Use high-quality adhesives and overlap tabs to ensure the cover stays secure during use.
Making the Most of Your Supplies List
Included with your purchase is a supplies list and detailed instructions. Treat this list as a checklist rather than a suggestion. Often, these lists include specific brands or types of adhesive that the designer has tested and verified. Deviating from these recommendations without understanding why they were chosen can lead to subpar results. For instance, some adhesives may react poorly with certain patterned papers, causing discoloration over time. By following the provided guide, you leverage the experience of the creator, effectively bypassing trial-and-error phases.
Furthermore, organizing your workspace before beginning can streamline the process. Have your weeding tools, scissors, adhesive, and bone folder within arm's reach. Interruptions during the delicate weeding phase can lead to accidental tears. If you are making multiple covers for different rooms or as gifts, set up an assembly line. Cut all pieces first, weed them all, then move to folding and finally assembly. This batch processing method increases efficiency and ensures consistency across all your creations.
Ultimately, the goal of this Halloween Tissue Box Cover Cricut Craft is to bring joy and seasonal spirit to your home with minimal stress. By paying attention to file types, sizing, material choices, and assembly details, you elevate a simple download into a cherished decoration. Whether you are a seasoned entrepreneur selling handmade goods or a hobbyist decorating your living room, these precautions ensure your work stands out. Enjoy the process, experiment with different color combinations, and remember that the perfect craft is one that brings a smile to your face every time you reach for a tissue.